Collage from geli prints
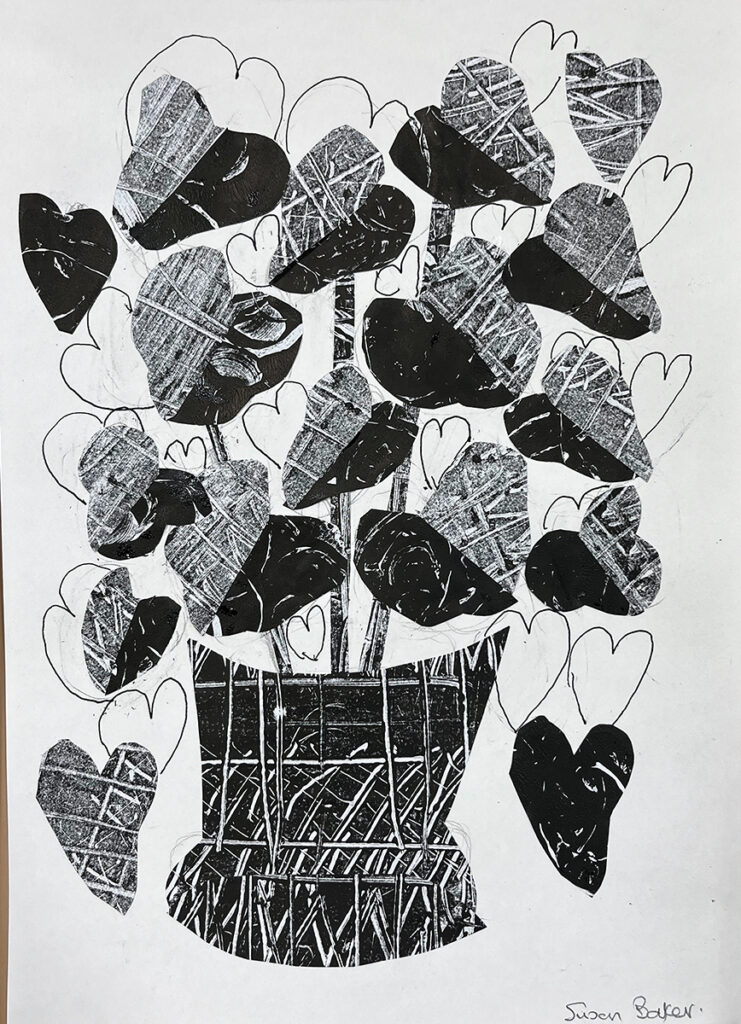
Green door printing Derby
I have just completed a printing course at green door with Pandora and another student Susan
we have done so much in a few weeks. Learnt a lot. The new techniques are;
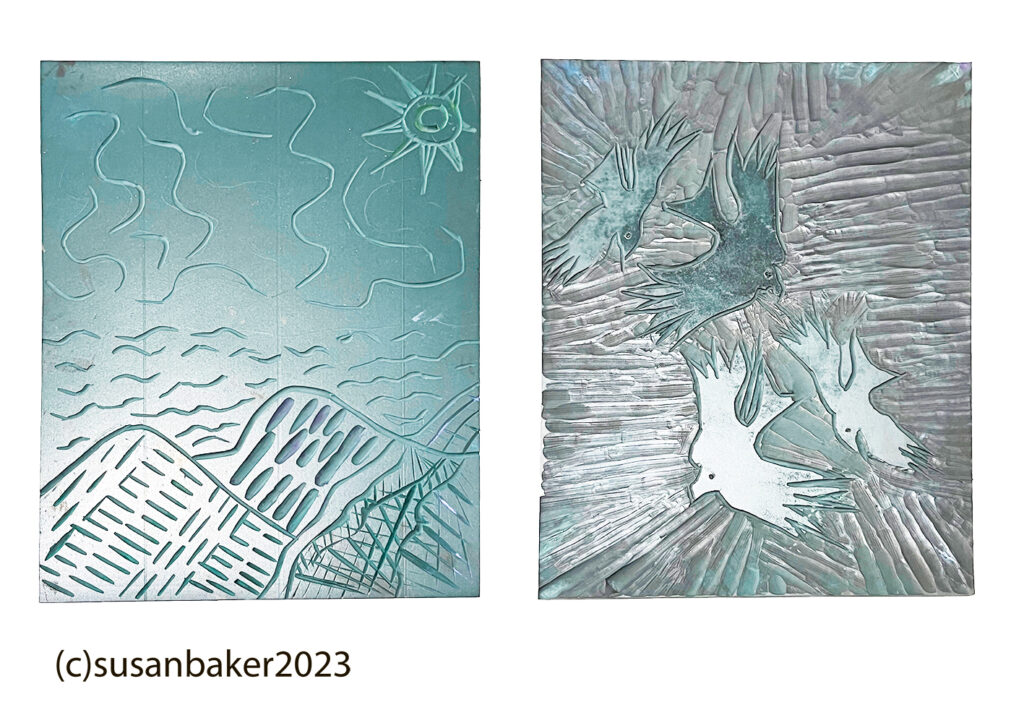
Collagraph printing, so you start with a mount board create designs by carving away and adding to it, painting with a button shellac polish then printing. I attach images of my collagraph plates.
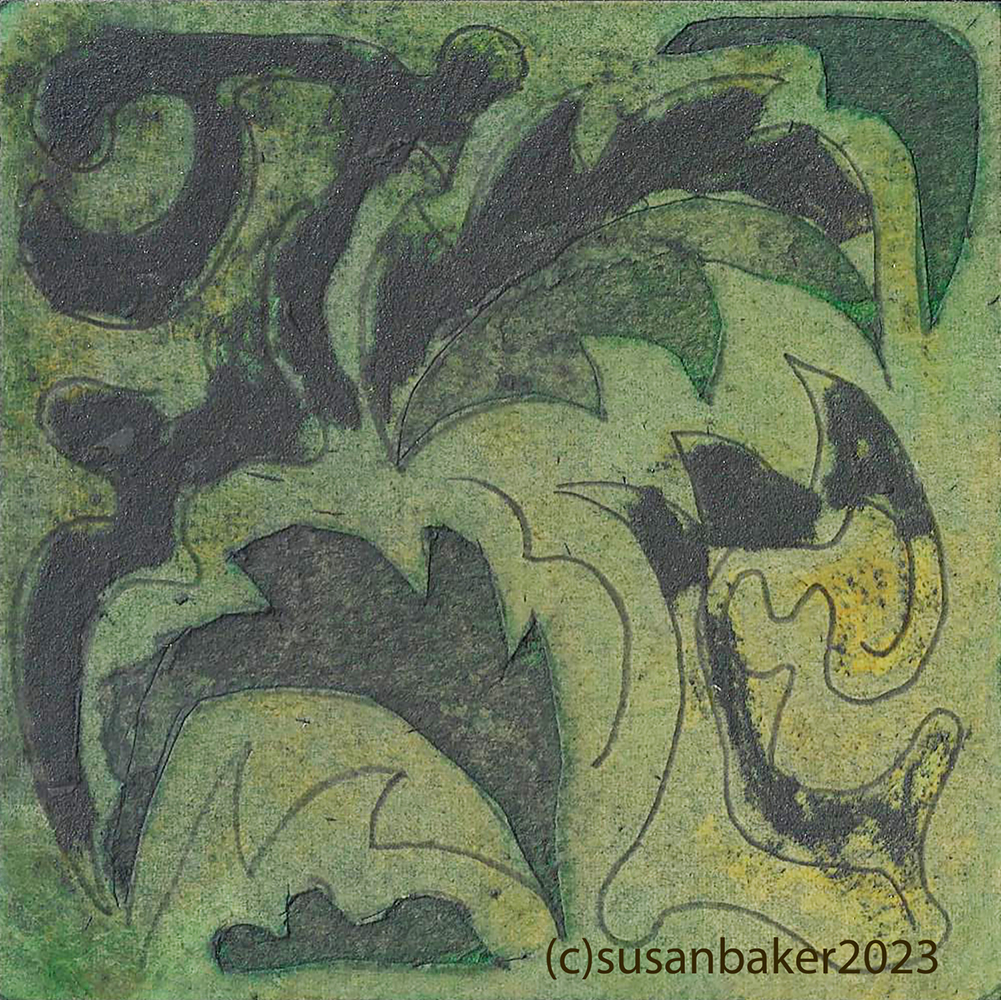
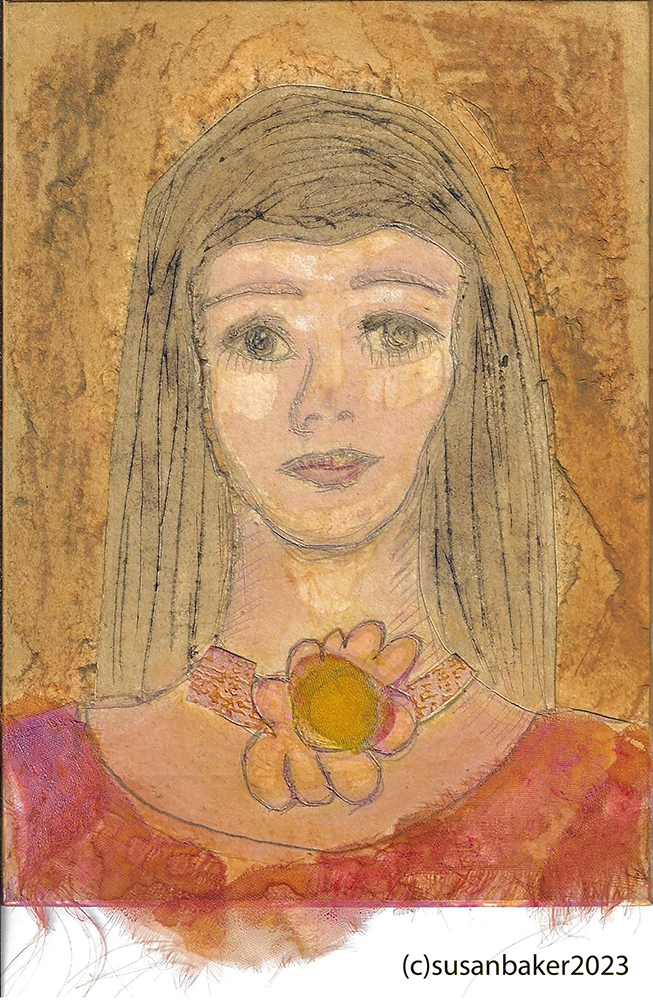
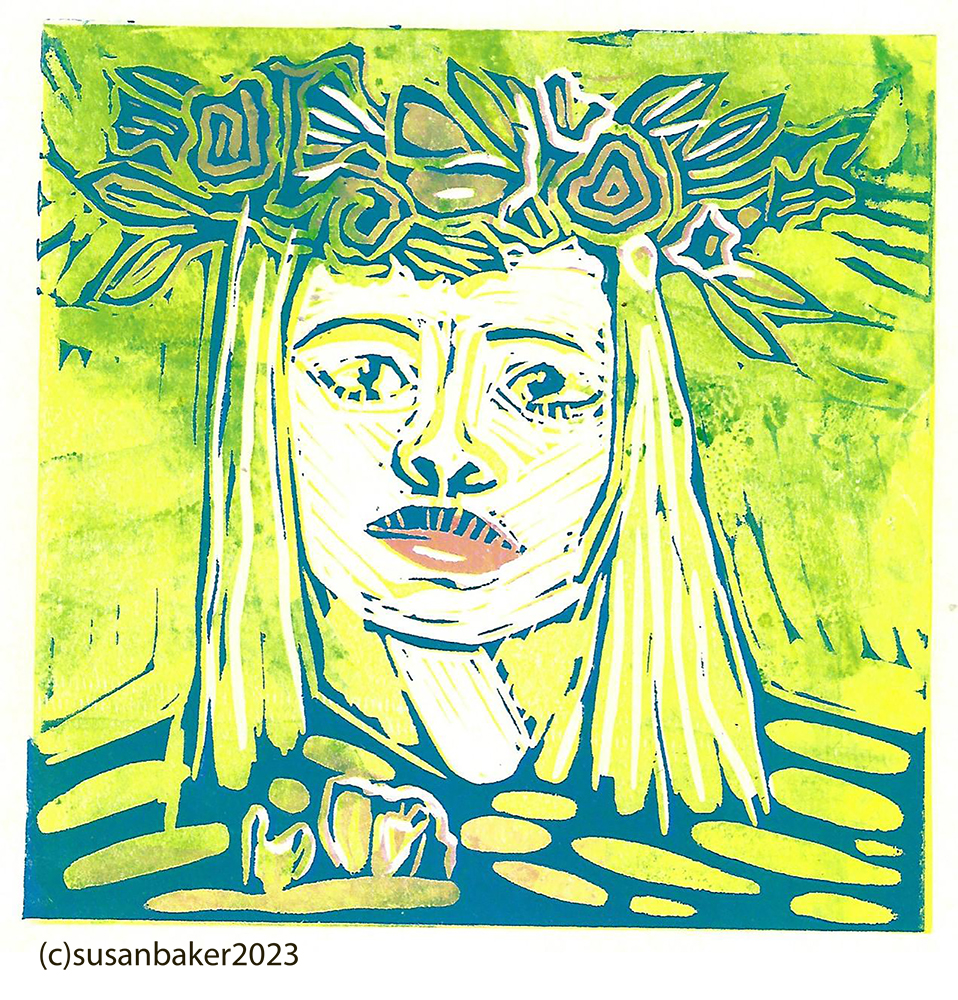
Reduction linocut. So you start the linocut do a print, cut out the colour you want to keep then another colour cut out colour you want to keep than another colour . For my green goddess I did a yellowy green background, then Pink then Blue.
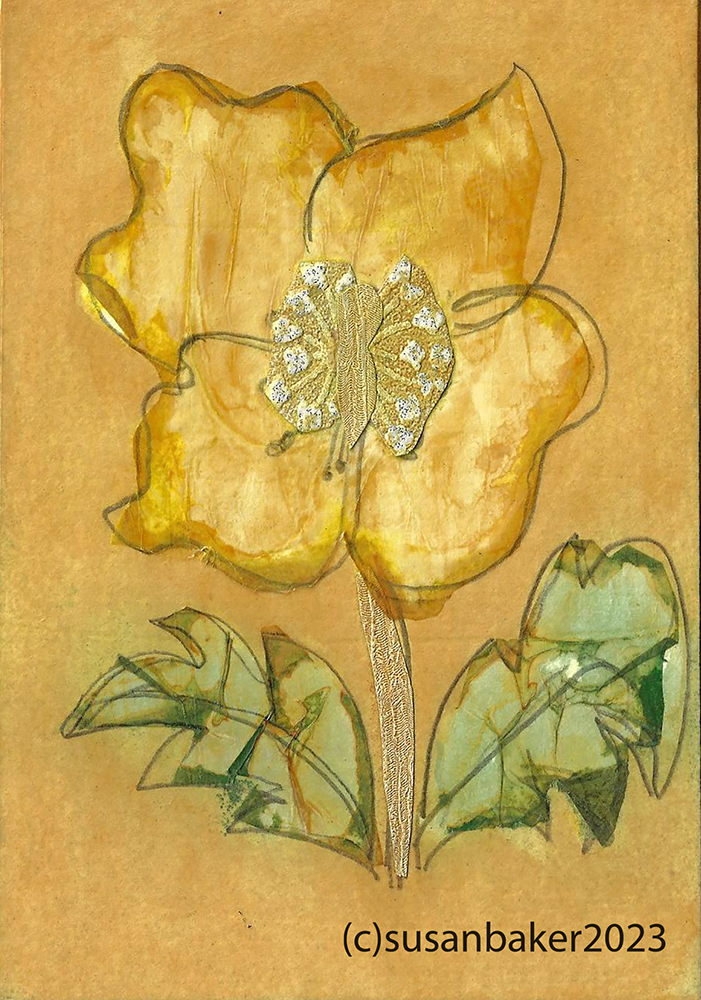
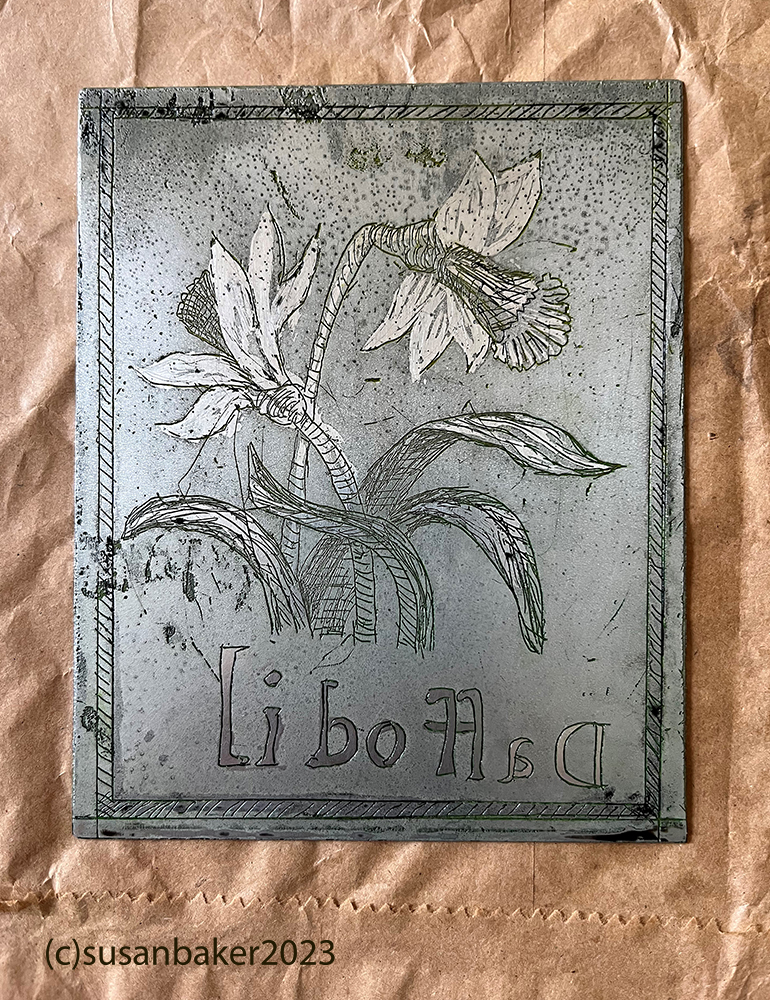
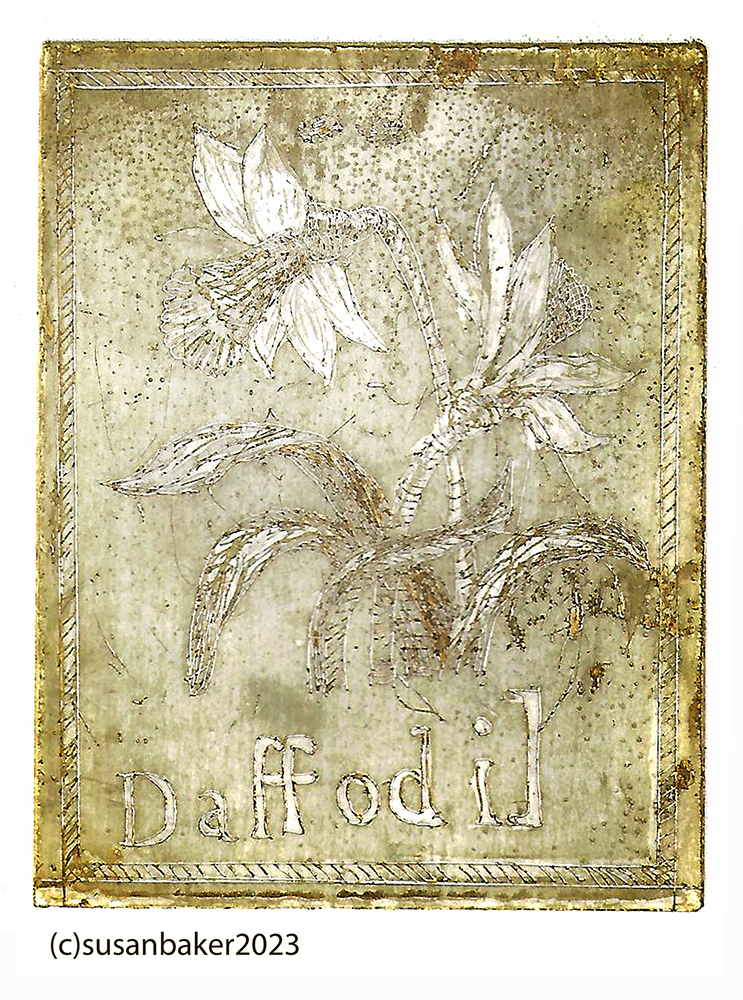
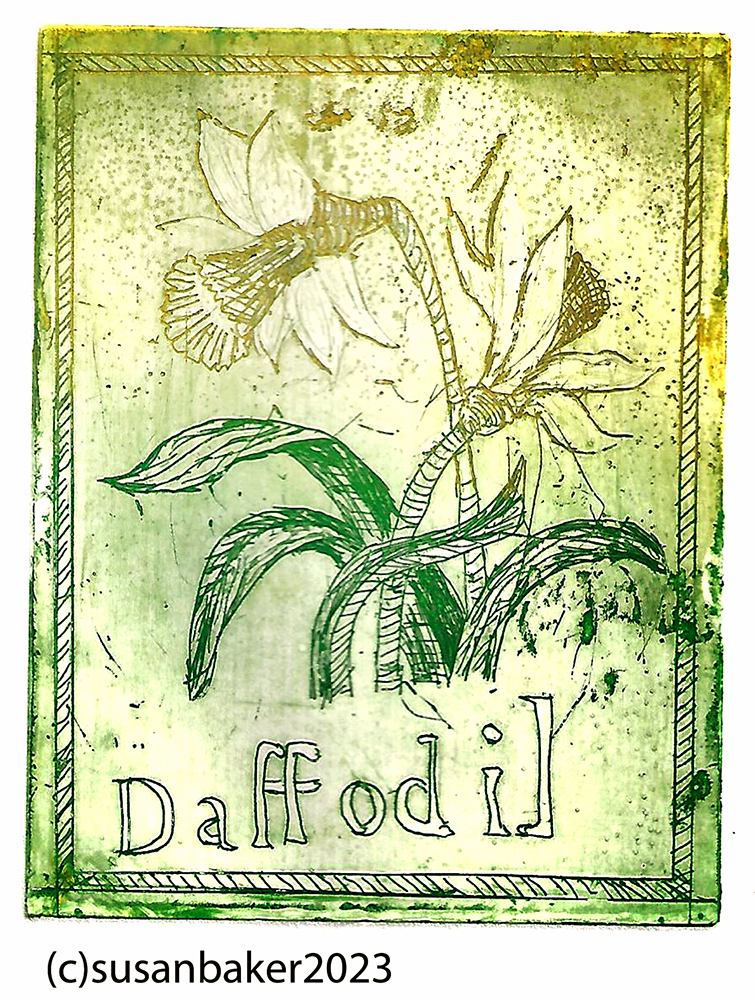
Zinc plate etching. Wow this is such an amazing process lots and lots of stages. I enjoyed the ability to do detailed delicate work. I learnt about some of the issues for me the little spots that develop like a lichen across the work, foul bite, this is caused by the loss of the acid resistant ground..using a stop out to stop the etching where you don’t want it like the white petals. I didnt use a burnisher but you can use a burnisher to take out the areas of foul bite. Then the use of an aquatone which is a spray that kind of adds powder particles to the plate that pick up more ink in the printing process. You can see in the images zinc plate and then a yellow aquatint plate and a yellow and green aquatint plate.

Screen printing.
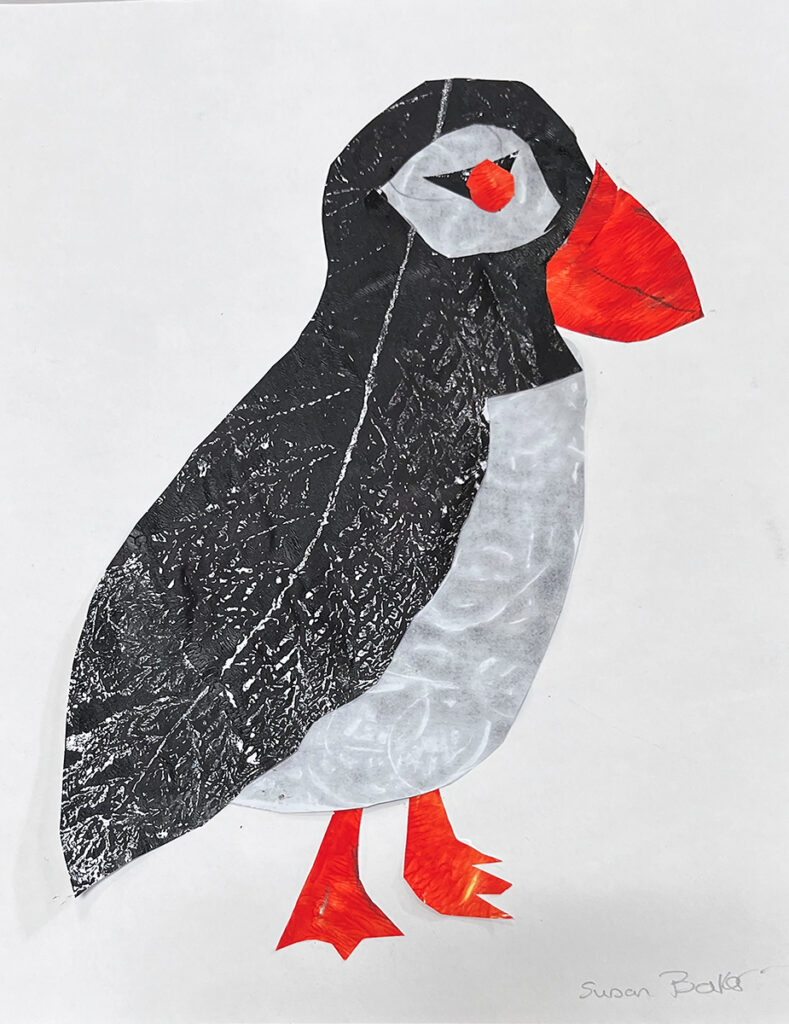
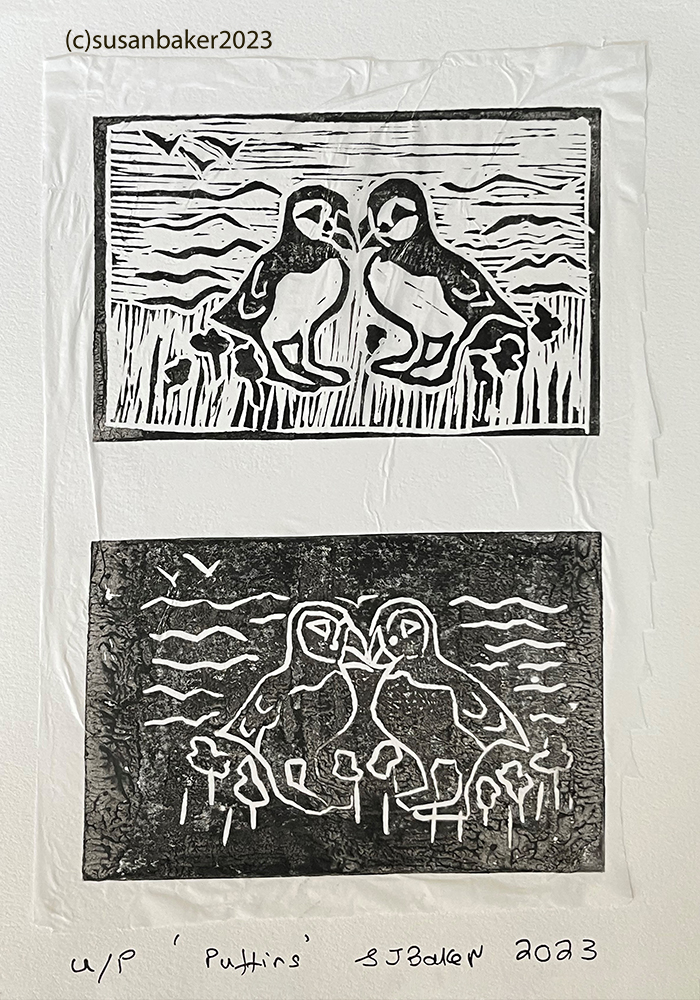
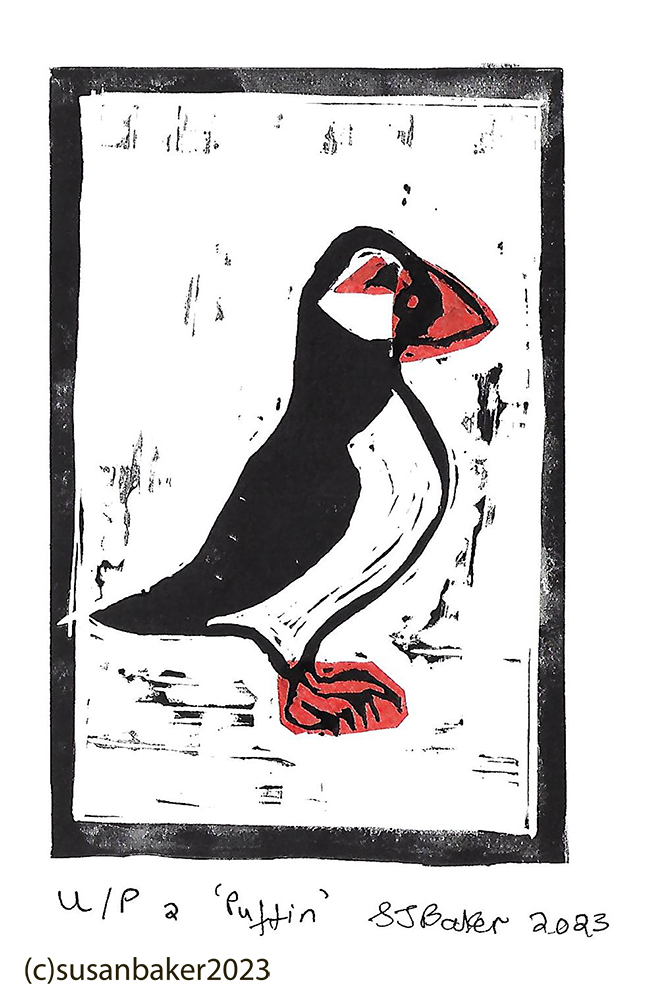
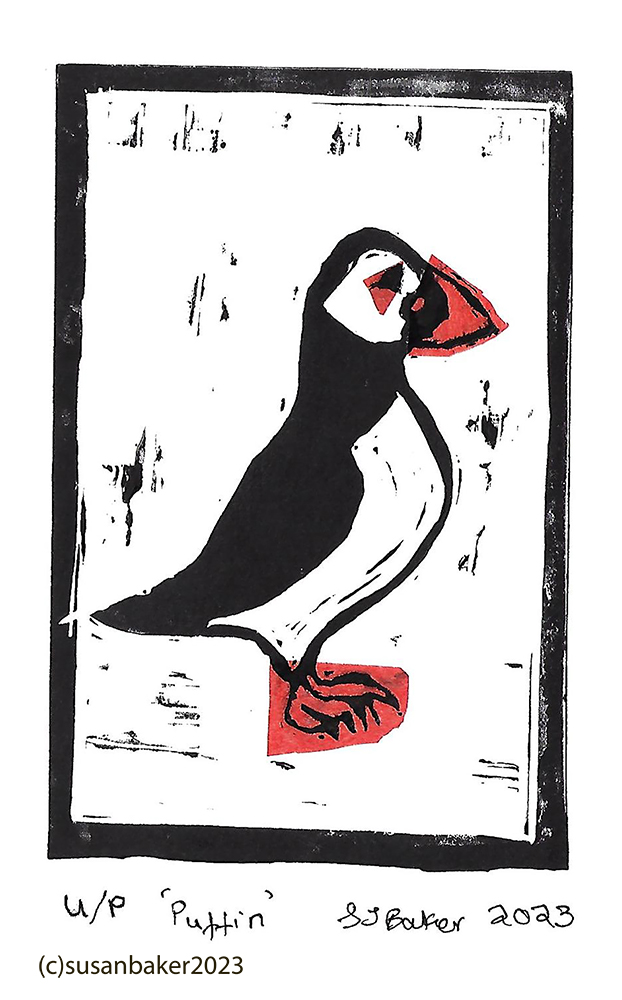
I worked through one of my drawings of puffins to make a block colour image that would work as a screen print. I managed the blue and black but unfortunately had a technical issue where the photo emulsion failed so I couldn’t do the orange. I will go back and do it but add a photoshop copy for now with the orange.
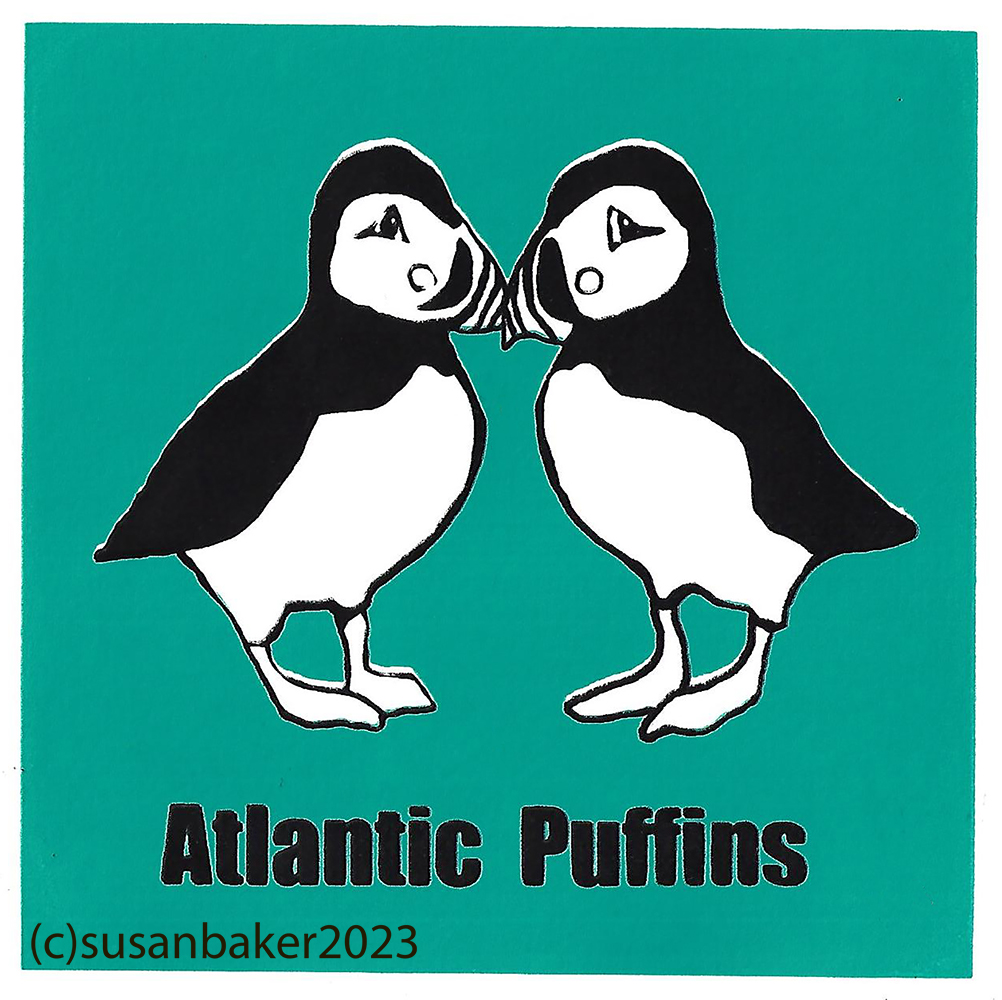
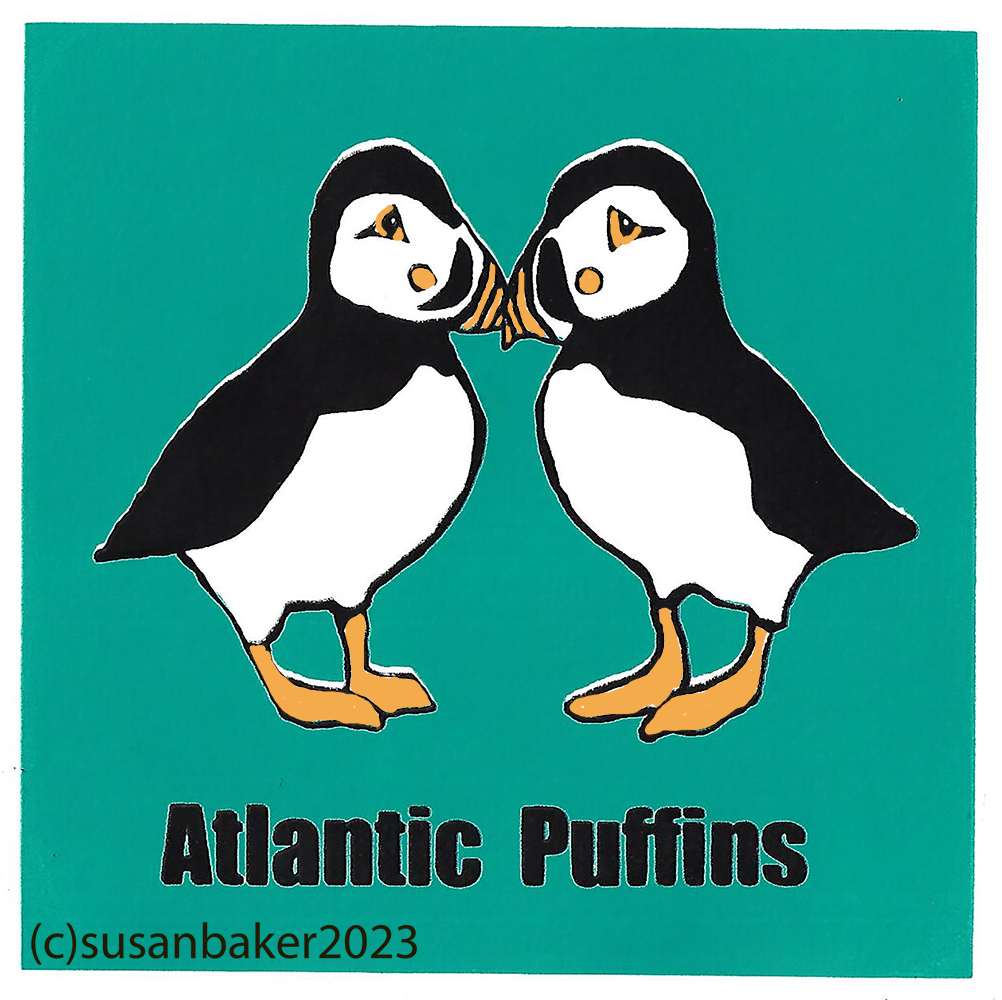


I share here I have been looking at reduction lino printing , this means you print one colour then cut it away then move to a different colour and print then cutaway the lino and go on. and onwards. So it really is for the moment and you lose the original thoughts. The art you create is so much more vital, and fine art in that it is lost at the next print.
I create an original image drawing with colour and ink.
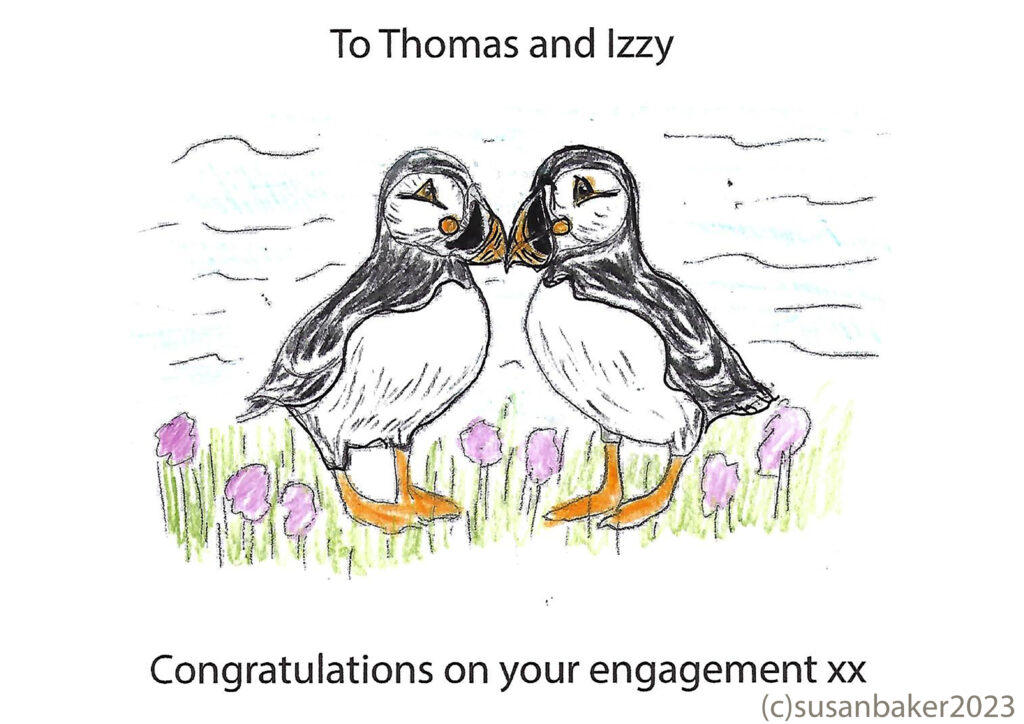
This is my first drawing, I then go on to create a multiple colour reduction lino print start with blue, then go on to orange and pink , then green and finally black, the second image using the same plate starts at green and ends at Black.
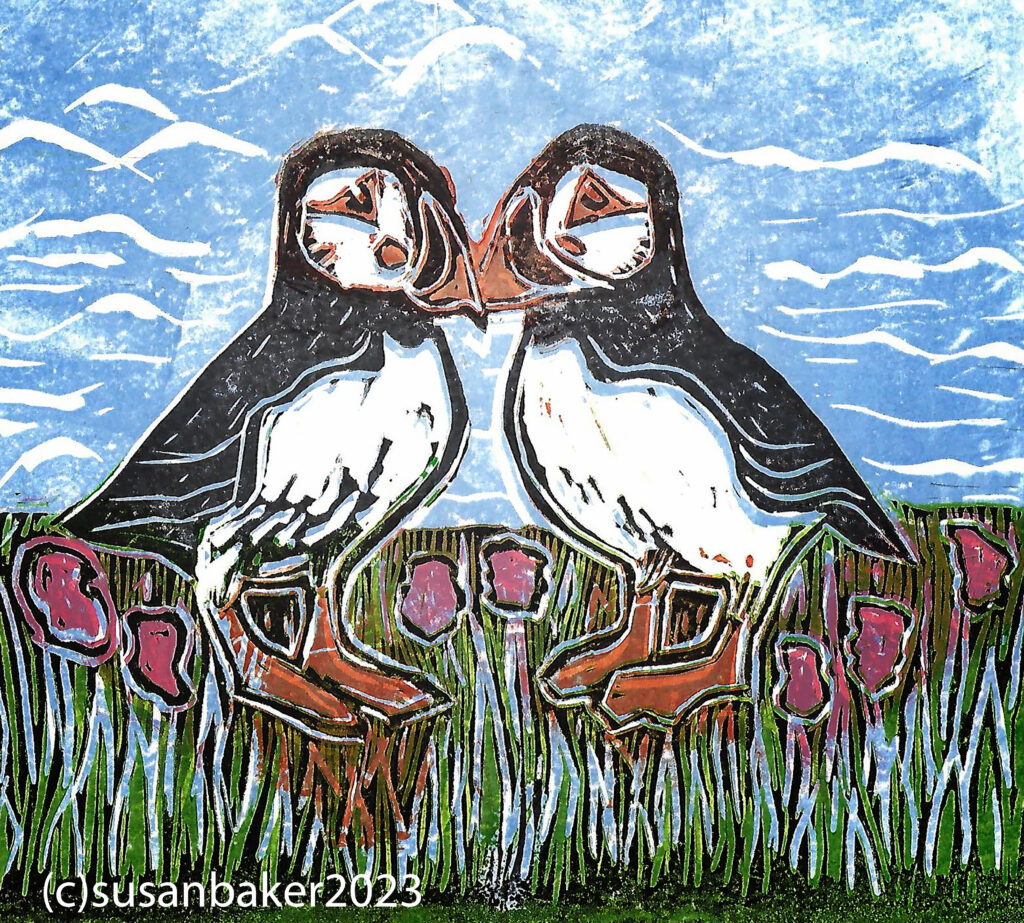
here is the green and black
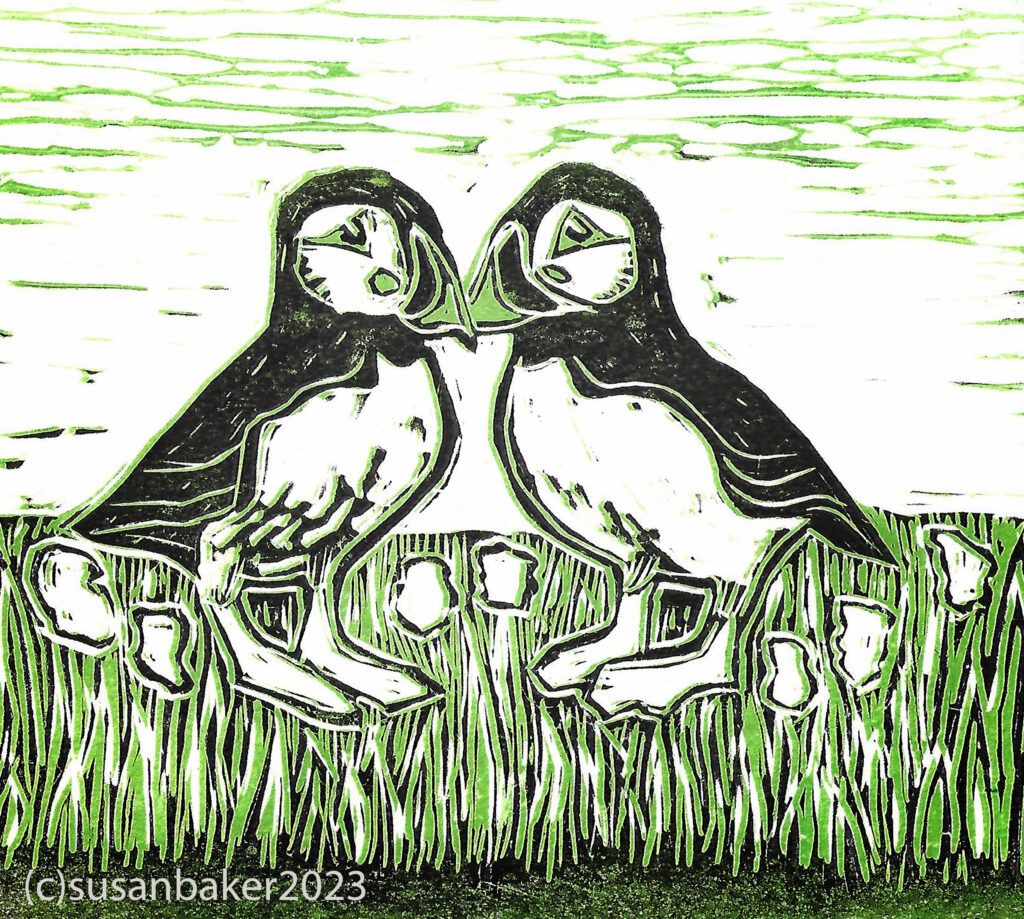
I am learning so much as I do linocut prints..
NCN final week we have been asked to create a linocut to print on a square card.
I start by photographing in a studio 3 photoshop with David Severn, dressed by Pam Severn to work with our model Hannah to work on some ideas inspired by Matisse from cut out figures. Then thinking more on an art deco presentation of an image of a girl with a hoop.
Here are the photo images and the photoshop work I did to create an image that would work on a block.
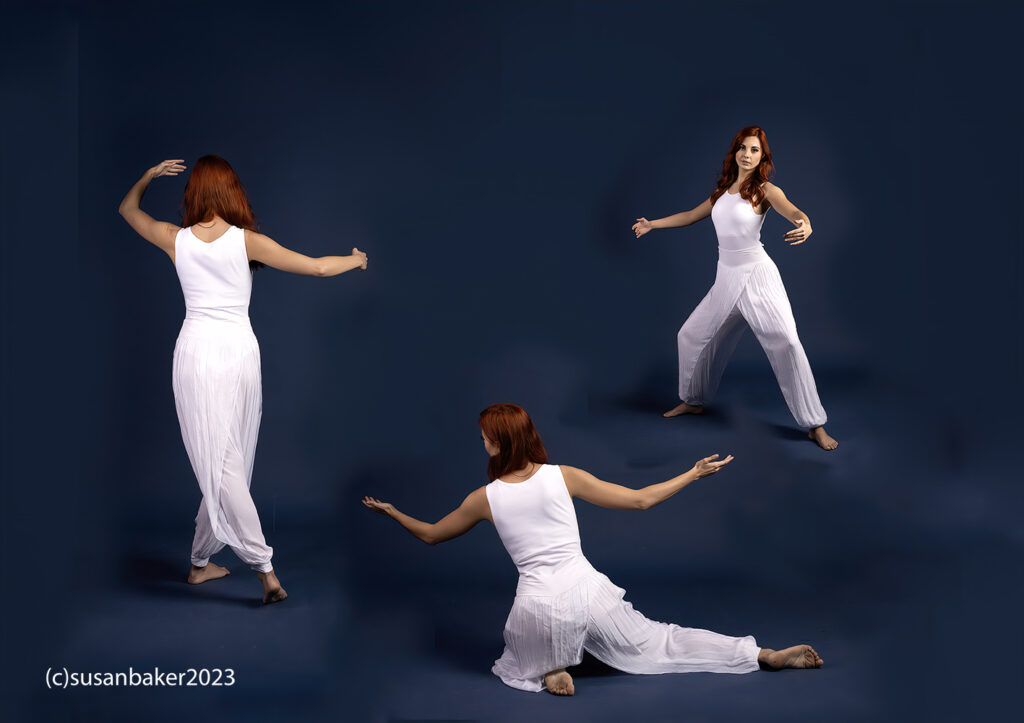
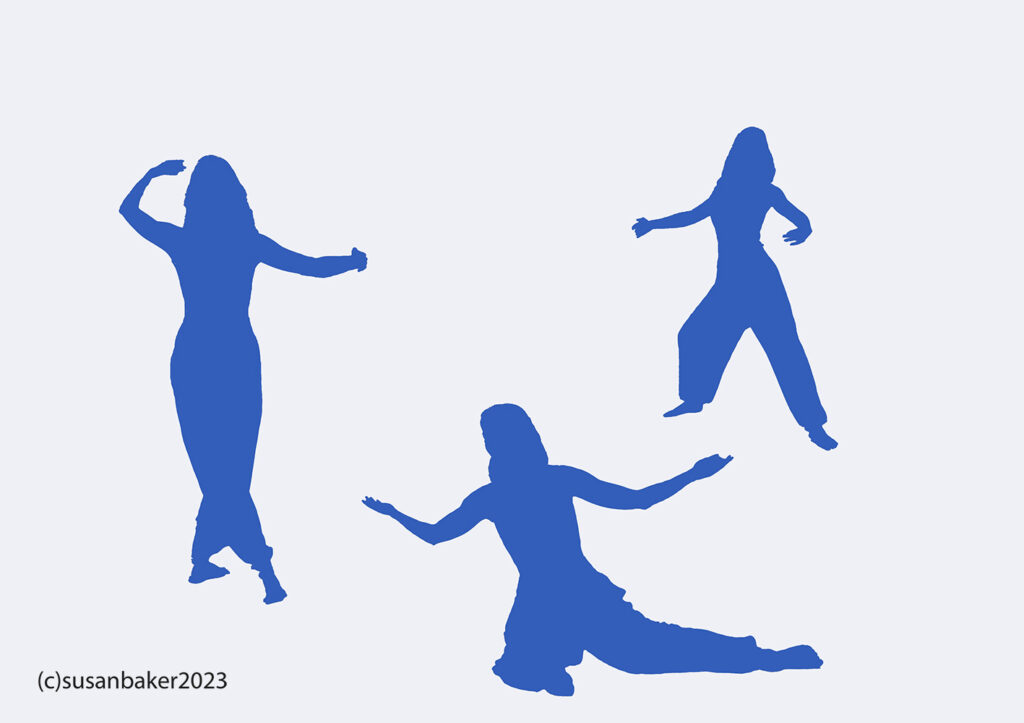
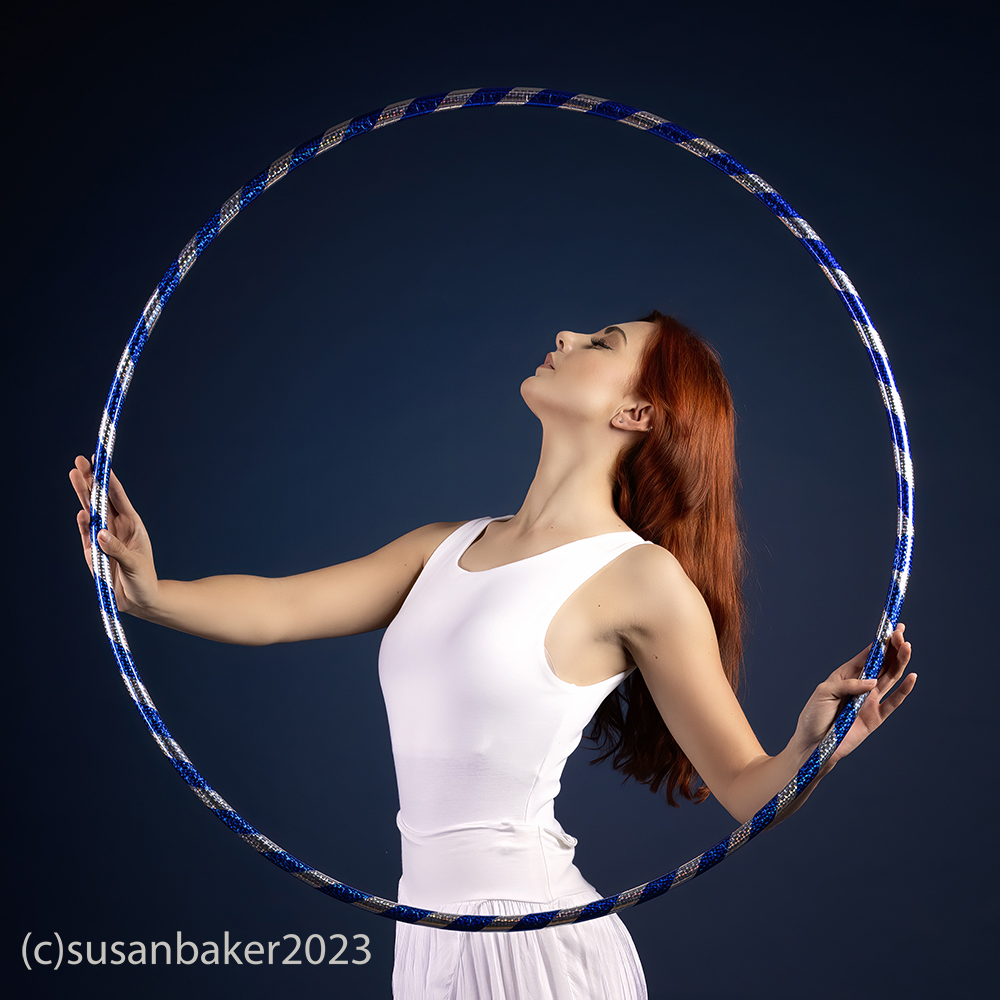
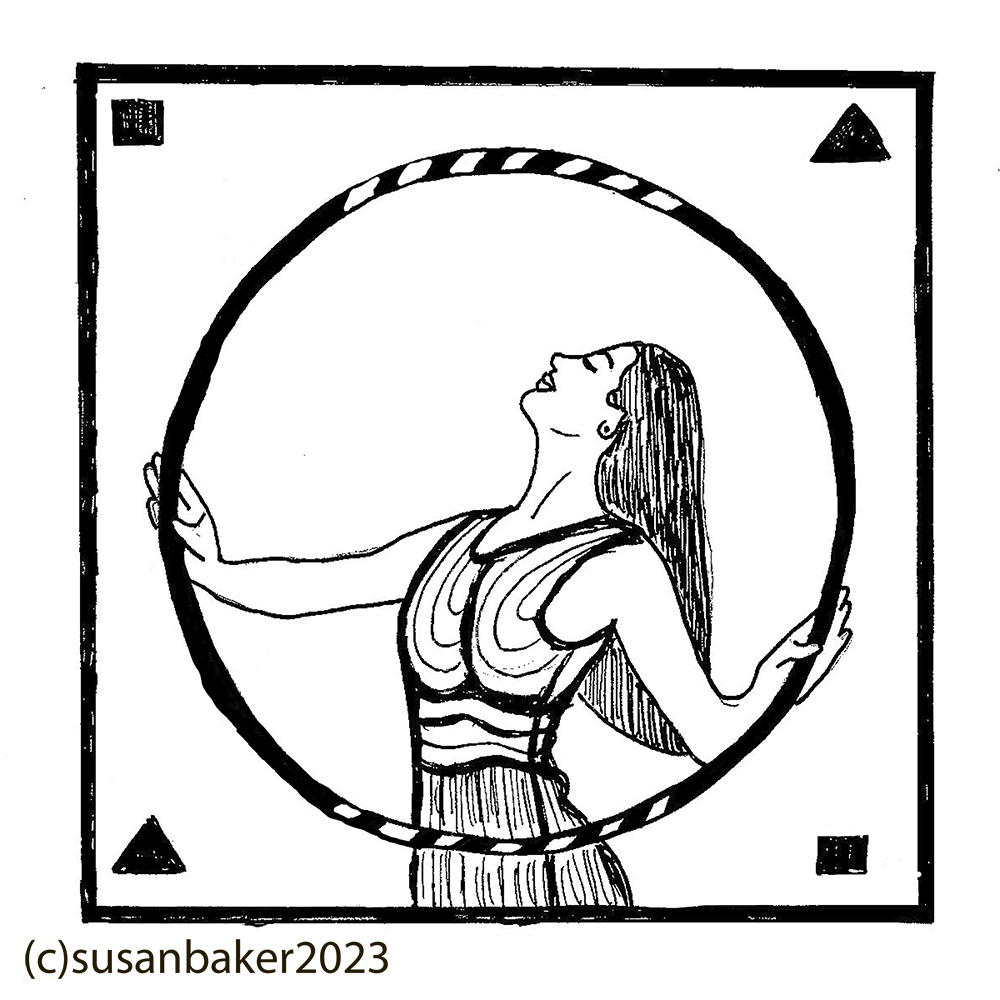
I created my lino blocks and had a go at home. My initial ‘figures’ plan was A4 rectangle so I had to redesign that initial image. I kept the two smaller figures solid and the third as a line drawing. I used chine collee tissuepaper to add block colour. My favourite was having a shape around the image leaving white. I liked the blue colour as this also went back to the matisse images that inspired me. The girl in the hoop had an immediate advantage it was already square I decided to replace the geometric shapes in corners by using what we call noise the vertical grooves in the lino.
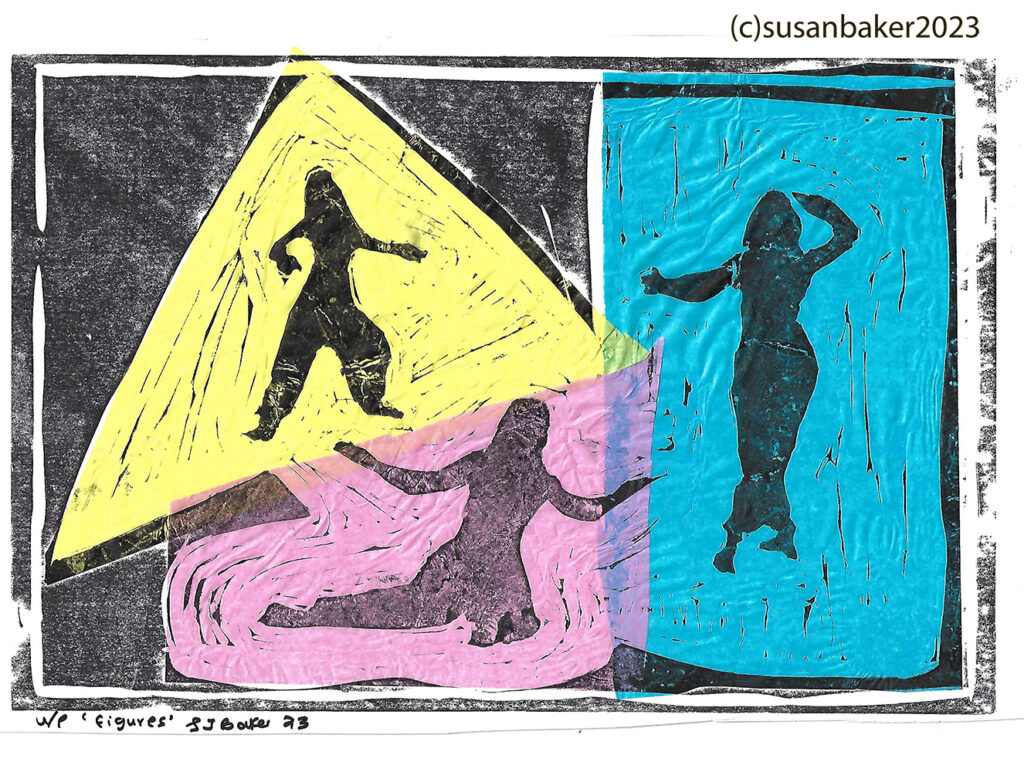
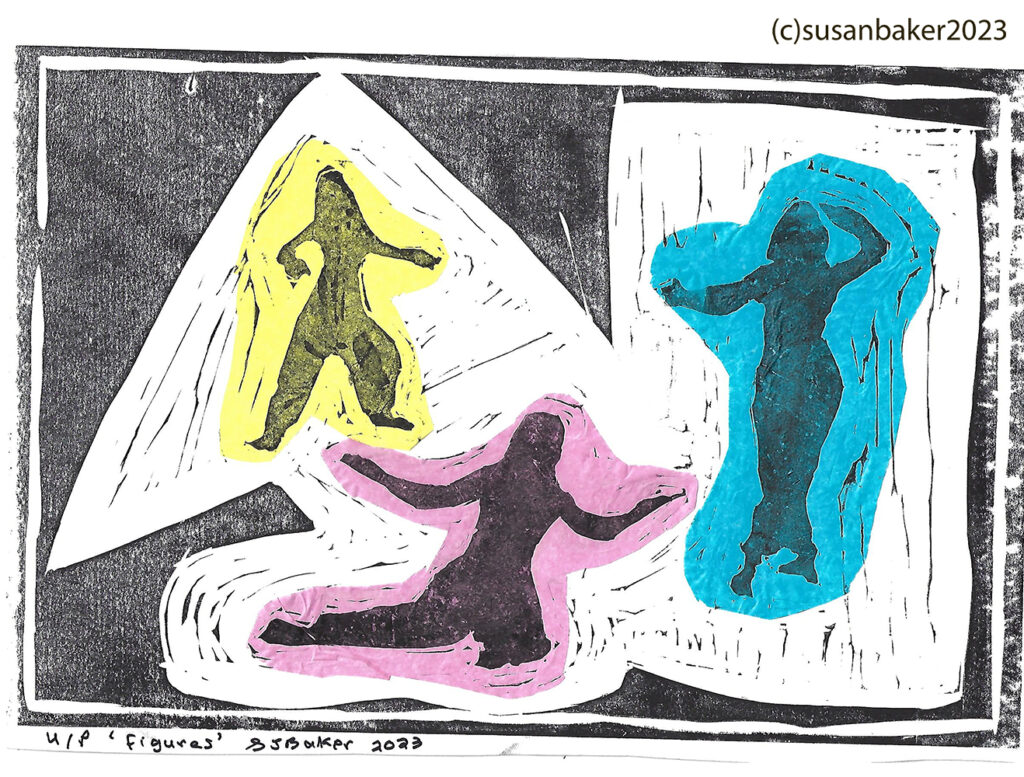
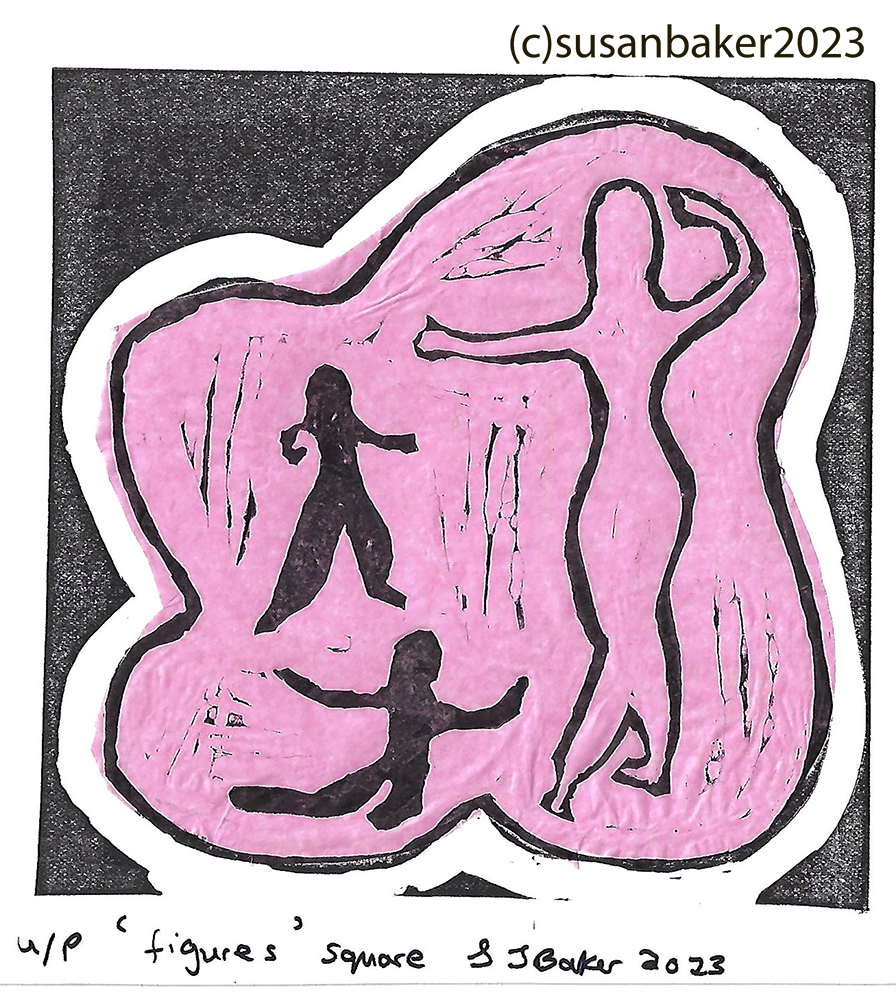
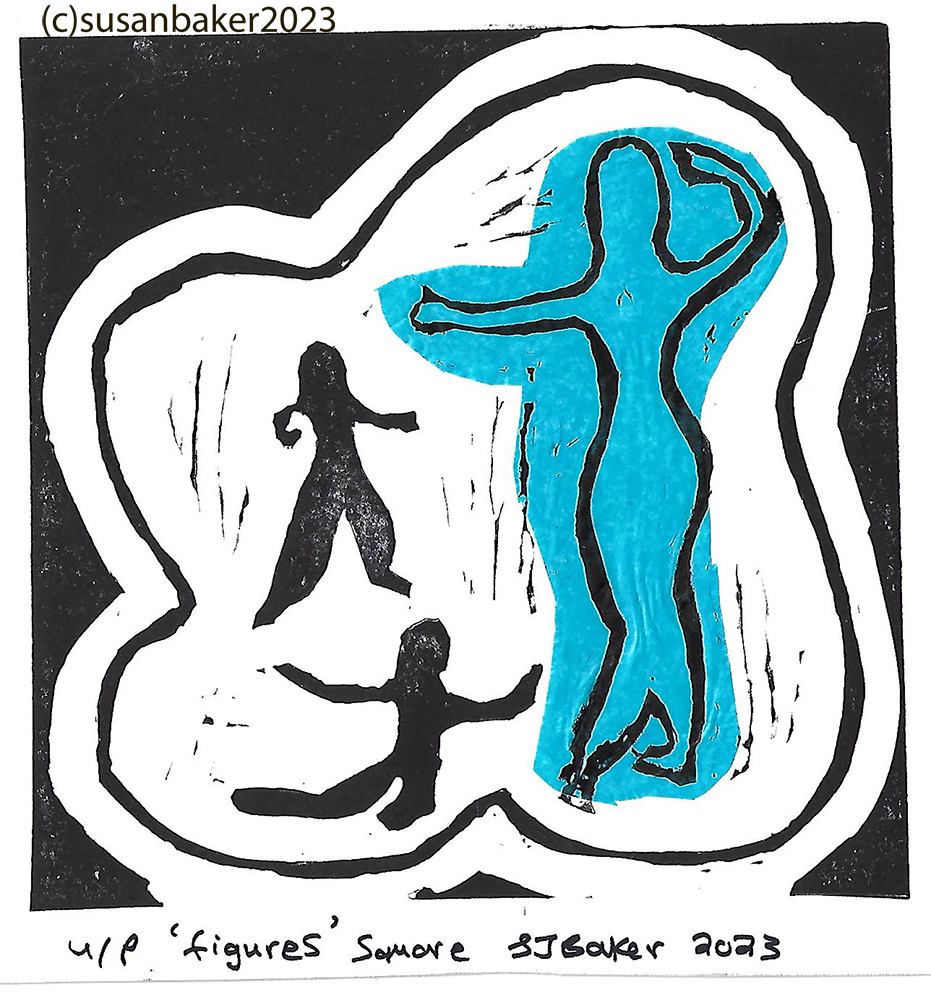
The final card prints.
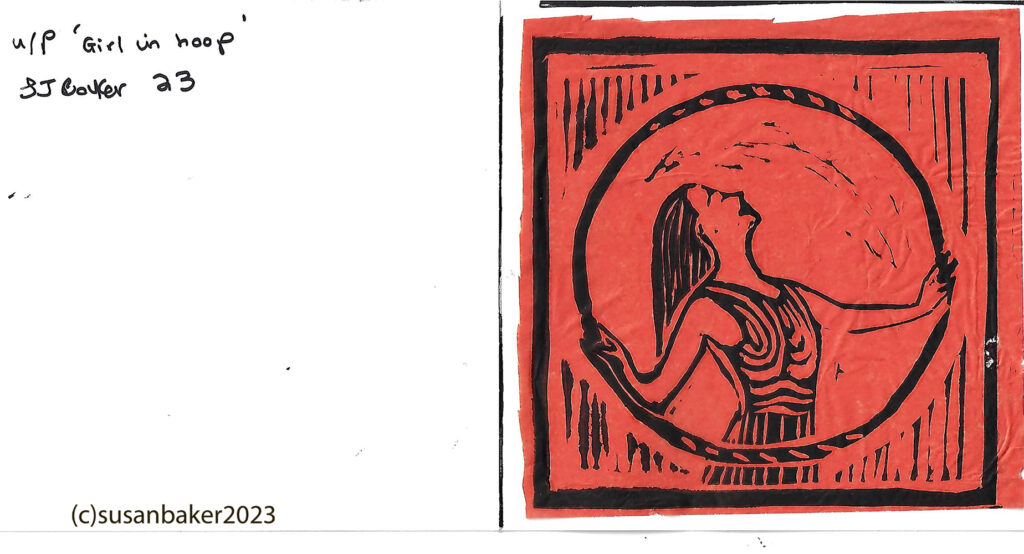
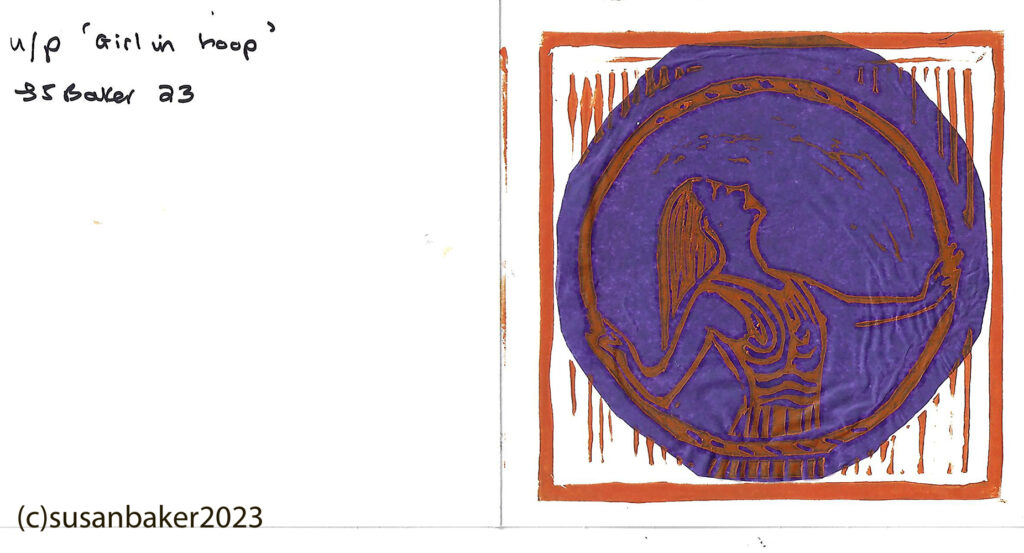
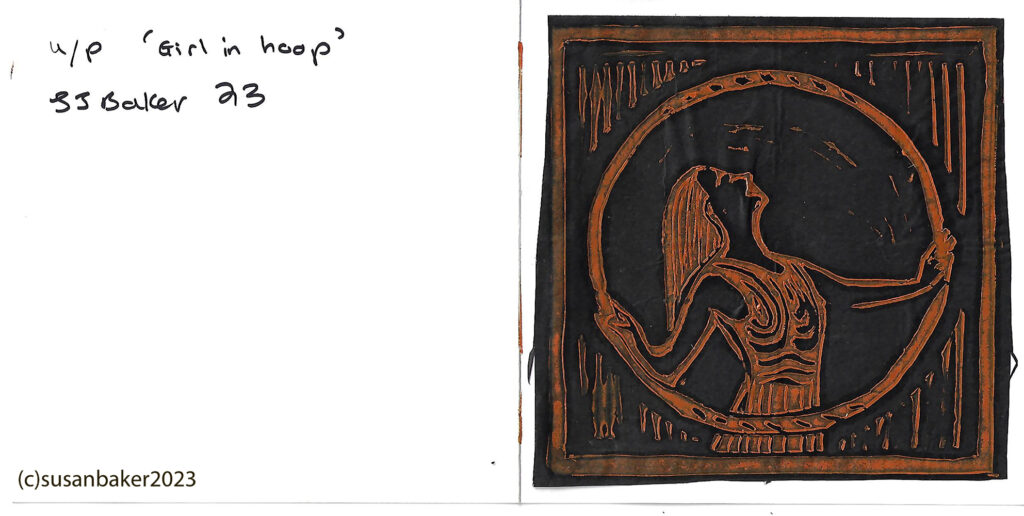


the final card prints I liked the all blue figures with a small amount of chine collee and then the the girl in the hoop. I experimented with different combinations. Tony had given us a mid blue, and orange and a black ink. I tried them all but my favourite was the simple blue print.
Thankyou to NCN and our tutor Jacquie and our group.
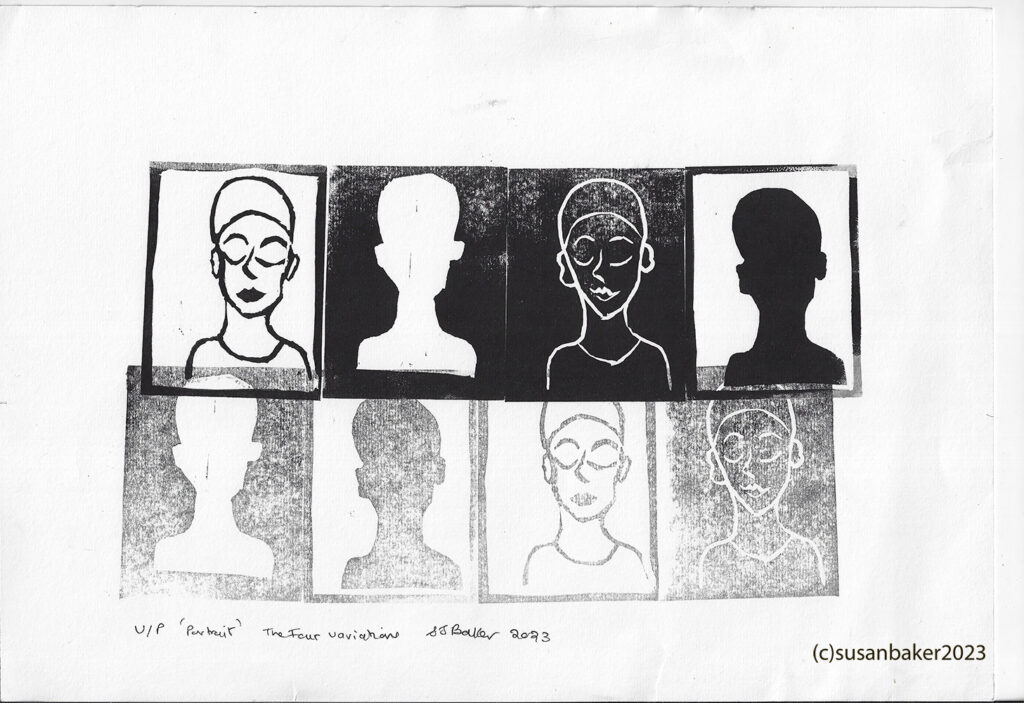
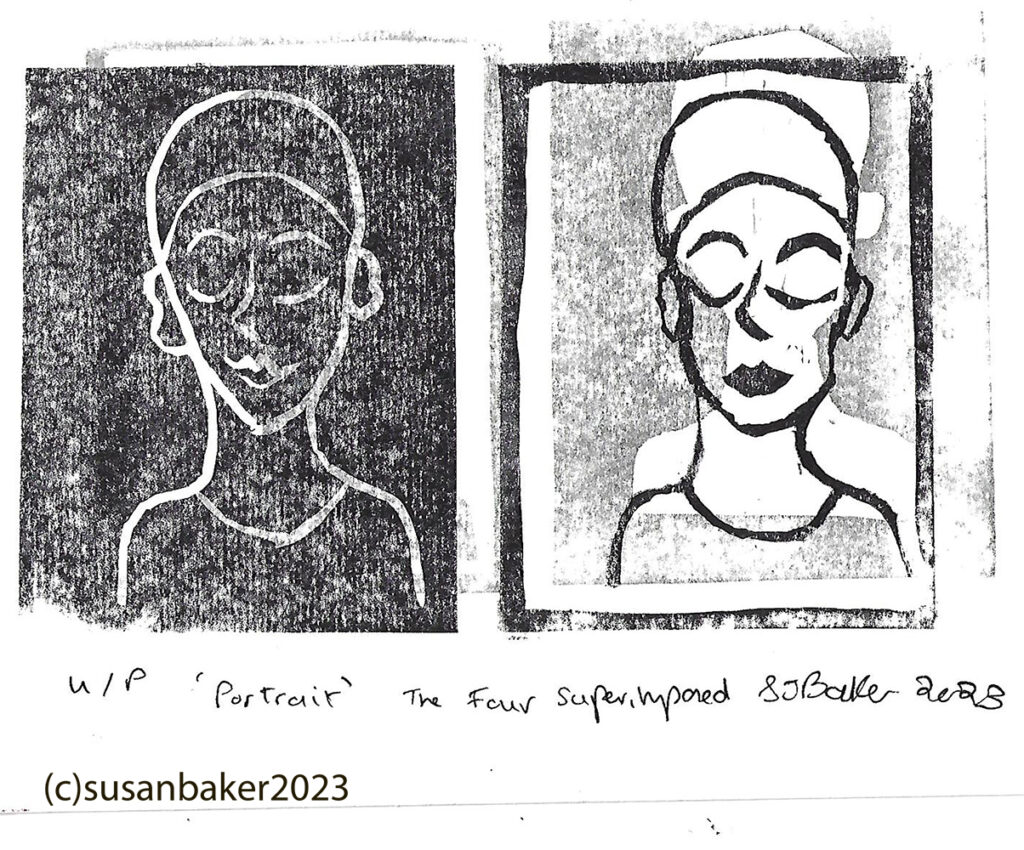
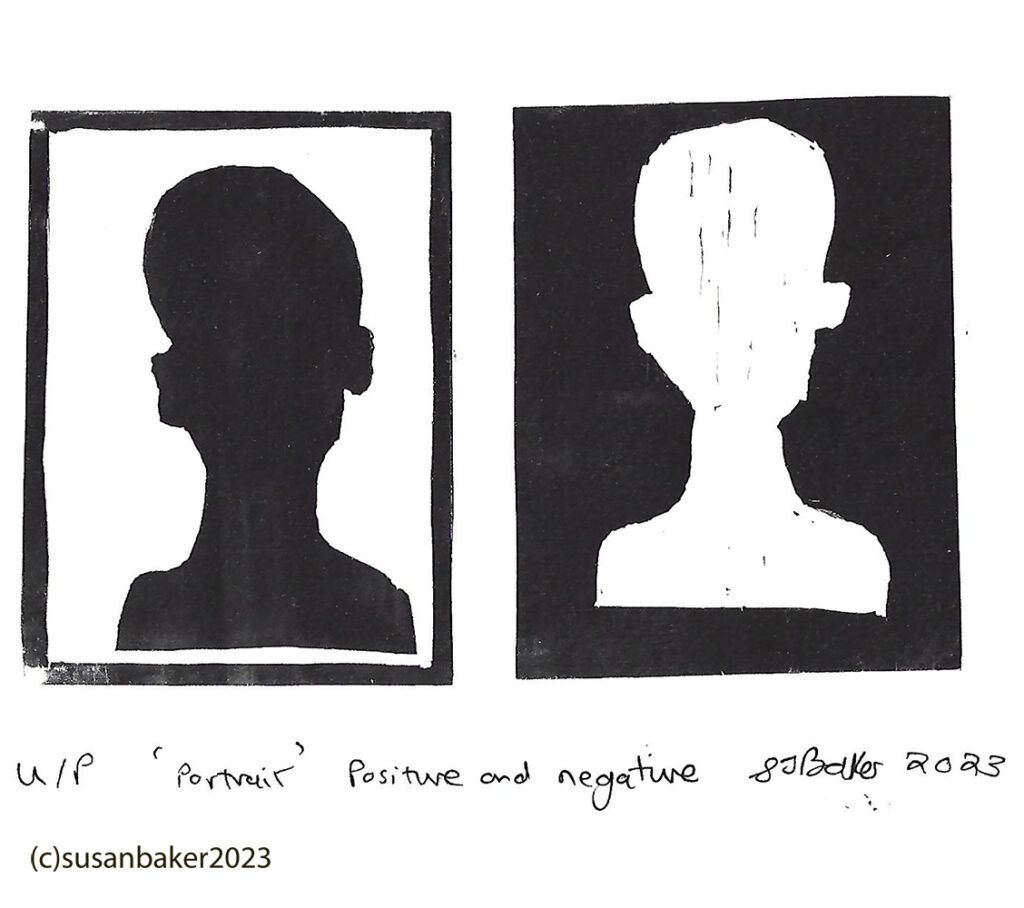
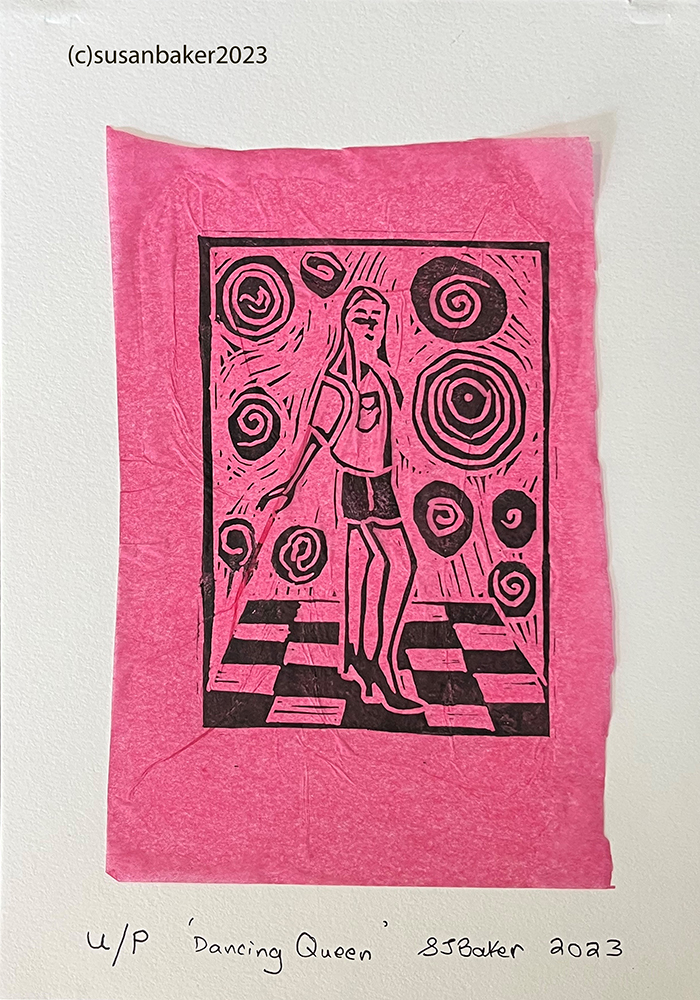
my New college nottingham work the portraits. Then my home work dancing queen and puffins.
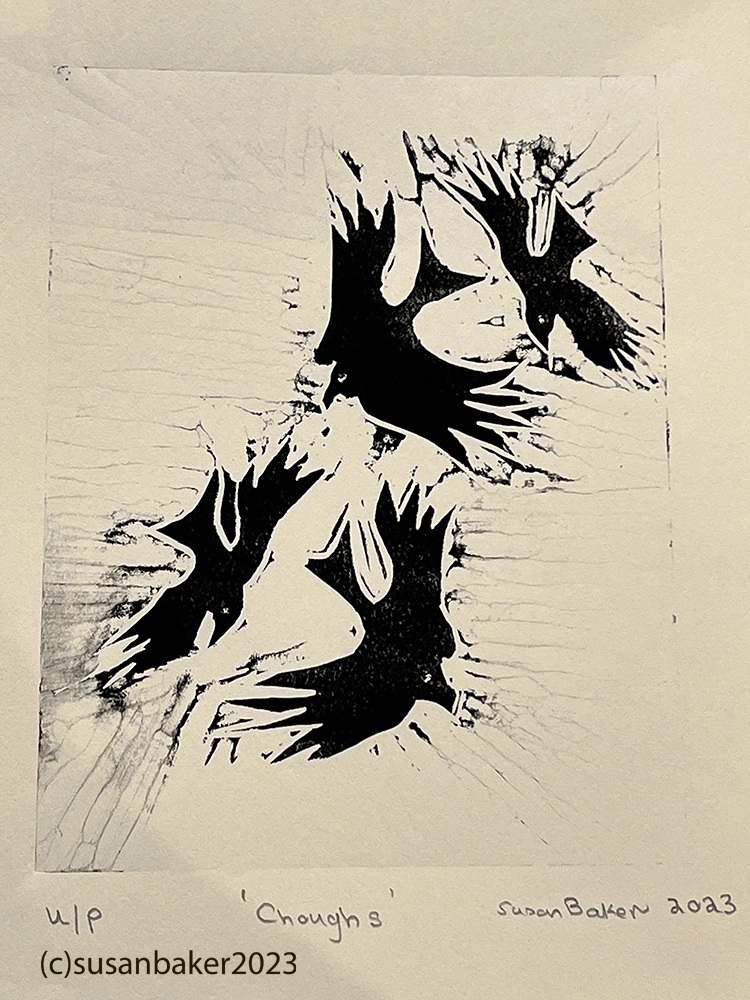
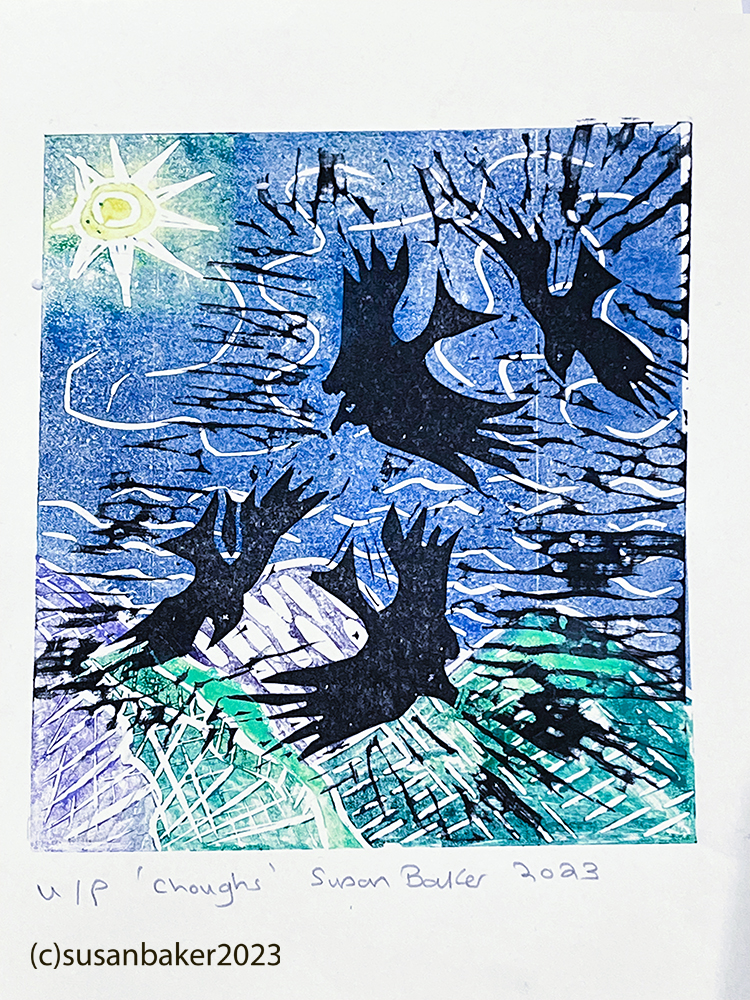
I went to a linocut refresher course at green door derby. I took with me some drawings of chough and made some paper cut outs that I used to transfer to linoleum with yellow transfer sheet.
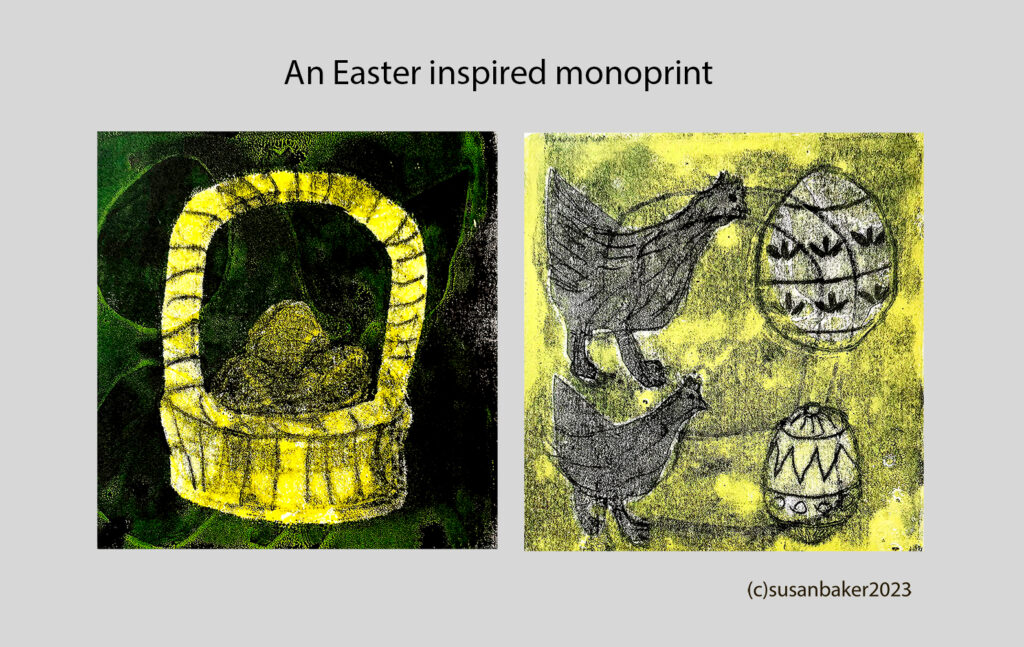
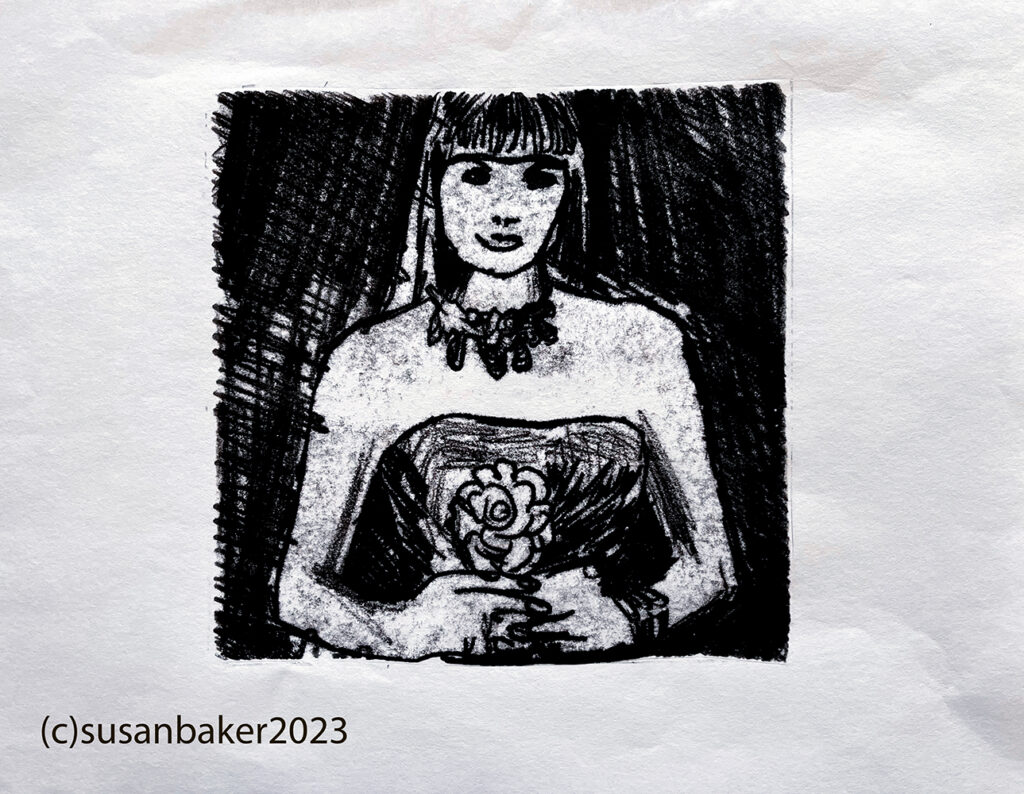
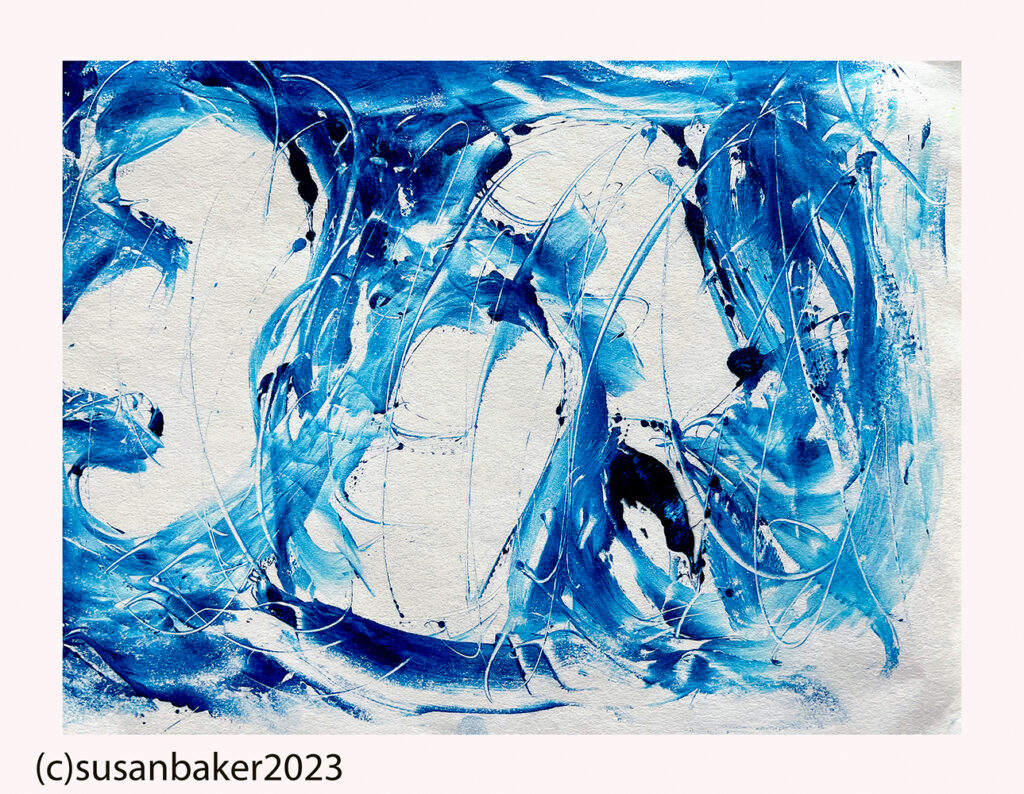
A blue monoprint with abstract paper shapes and then drawing through the paper
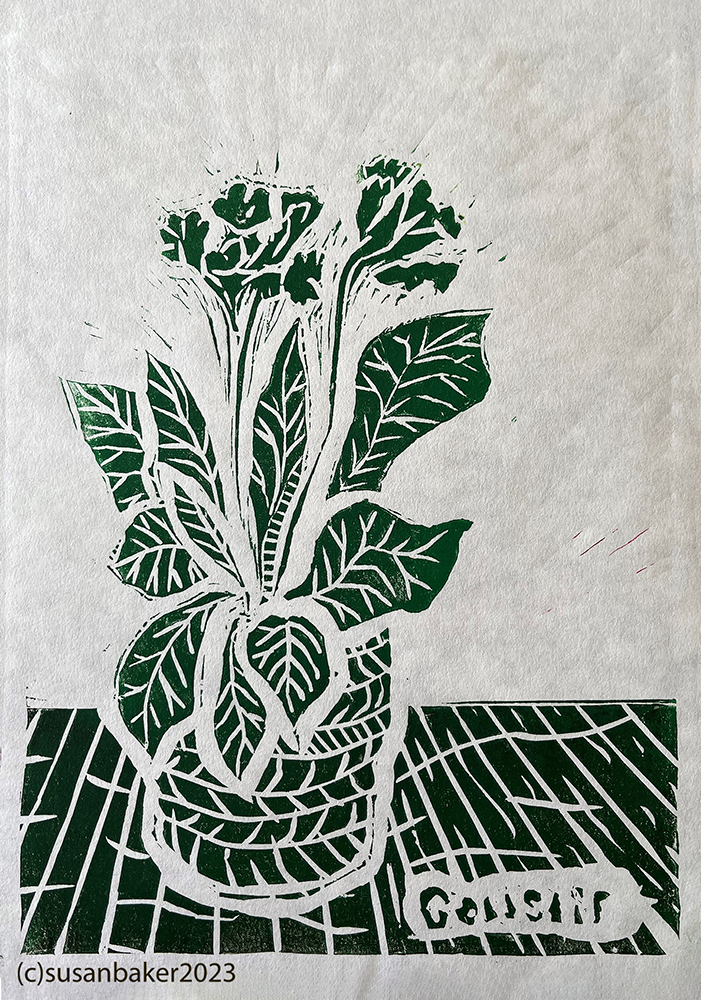
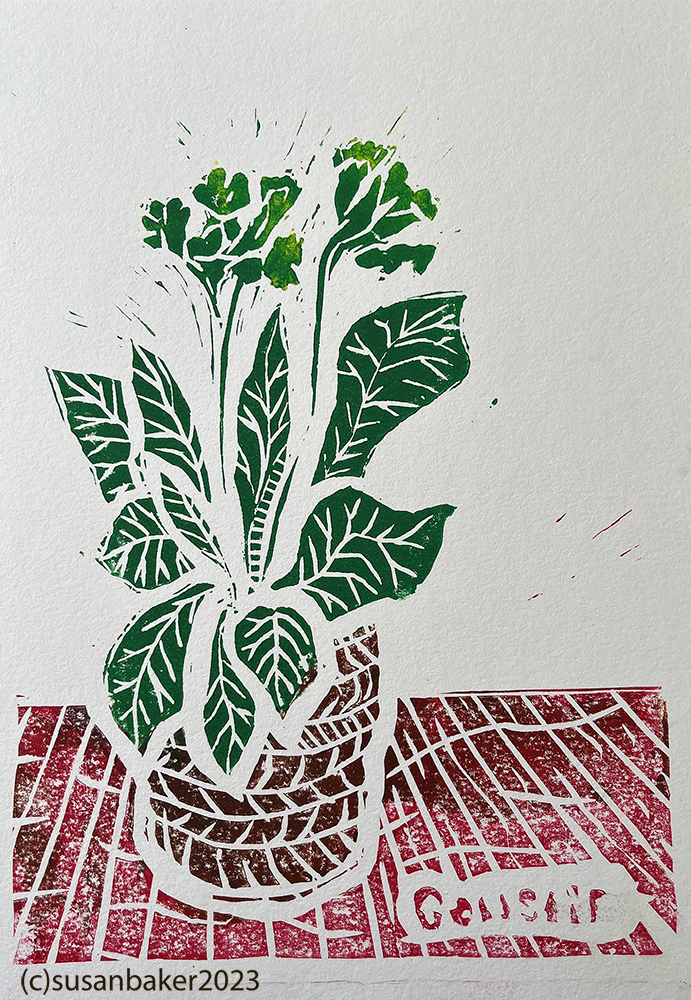
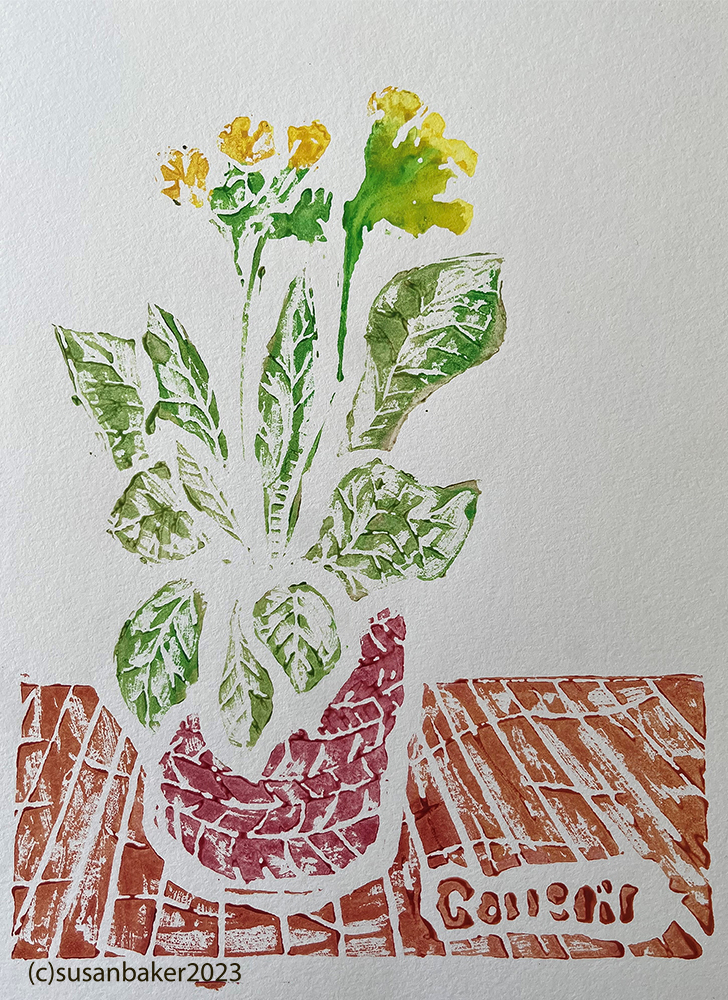
Cowslip from a drawing of plant. I created a linocut and have printed. I had the challenge of trying lettering and failed a bit learning. A single colour washable ink print a multi colour washable ink print and lastly a go at watercolour and rice paste print. Room for improvement.
